Advanced Jumping Techniques
The Techniques in this section are by no means an exhaustive list; rather it is designed to assist jumpers who may be exploring the 3 and 4-star puzzle challenges by offering a few helpful insights and strategies.
Table of contents
Ninja Walls/Jumps
Ninja Walls are characterized by jumps from the edge of specific partitions that have a narrow walkable ledge, such as Glade Partitions. Ninja Jumps refer to the jumps from these walls or from the combination of other furniture that gives a similar effect. The challenge in performing these jumps lies in the fact that the ledges on these partitions provide little time to build up speed before jumping. Essentially, you need to press your movement key and jump key nearly simultaneously.
Some individuals have reported greater success with ninja jumps by running along the length of a partition and then suddenly moving their camera in the direction they want to jump while jumping at the same time. This technique for executing jumps from ninja walls is generally easier to replicate with a mouse and keyboard setup.
Partition Transfers
A Partition Transfer is when, on a ninja wall, you jump from the ledge on one side of the wall to the ledge on the other side all while suspended in the air and without the aid of nearby furnishings. This technique in particular has been notorious in being a technique that takes substantial effort and practice to perfect.
Each person will have to find a way that is most comfortable for them in order to successfully make one of these jumps, however there are two separate ways people use to help navigate these jumps. The first way is, while using sprint or peloton, get to the corner of the partition, and then make a fairly substantial jump towards the other edge of the wall. It might feel like your character is hitting a wall when done correctly and you will catch the edge on the other side of the partition. The other approach includes utilizing your target circle, moving slowly, and aligning your arrows to help you extend far enough and to help you aim for the edge on the other side with precision.
Moving Upwarp/ Staggered Lift
This is a rather specialized application of upwarps. To execute this particular jump, the key is not to remain stationary; instead, you should initiate a forward run and time your jump so that the peak of your jump aligns with the lower portion of the object you intend to upwarp through. This can either activate them instantly or allow you to cling to them and trigger the upwarp with another jump.

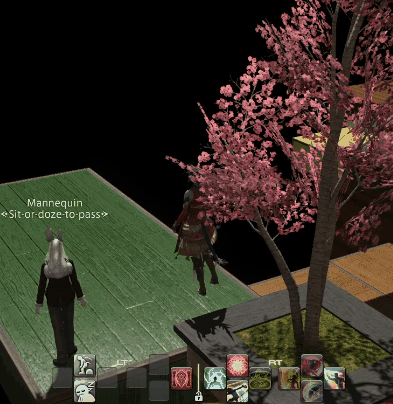
Job gates
“Job gates” earn their name due to the unique ability to traverse a void wall, which is only feasible by employing movement skills from specific jobs. This method is effective when the gap between the furniture you’re attempting to cross is relatively short, and the side you’re heading to is at a lower elevation than your starting point. A few examples of movement skills that are popular and proven to work are En Avant(Level 60 Dancer), Elusive Jump(Level 35 Dragoon), Hell’s Ingress/Egress(Level 70 Reaper), etc.
The utilization of job gates in puzzles can restrict the accessibility of the puzzle, as jumpers need to ensure that they have a job leveled up sufficiently to unlock the necessary movement skills. While there are a few puzzles that incorporate this technique, the use of job gates is not particularly widespread. Puzzles labeled with the subtype “J” for Job Gates are those in which this technique is employed.
Example: Using Dancer’s En Avant to cross the void.
Forbidden Phasing
As mentioned in the previous section on phasing, running through objects typically results in both the item you’re moving toward and the object underneath you phasing. However, with Forbidden Phasing, it’s possible to phase only the item in front of you, leaving yourself a surface or floor to jump from. To execute this technique, you’ll need to walk into an item for a few seconds. At the moment when you would typically phase through the item, if you time a jump correctly, you’ll trigger the phase for only the object in front of you. Some people find that using walk mode can help control the side-to-side movement that occurs when attempting to run at singular items. Perfecting this technique may require some practice to determine a reliable approach that works best for you.
Forbidden phasing received its name due to how this technique can completely trivialize structure puzzles and is frequently banned by puzzle builders. When this technique is a required part of a puzzle, it will be labeled with “P+” in the puzzle’s subtypes.
Running Forbidden Phasing
Running Forbidden Phasing is akin to Regular Forbidden Phasing, but it skips the step where you stop in the middle of the object. To execute this technique, you’ll need to use Sprint or Peloton to run directly at the object you intend to phase through for a few seconds. With a well timed jump right at the moment you would typically phase through the object, you can reach areas that would otherwise be inaccessible with regular Forbidden Phasing alone.
This technique is relatively rare and typically found in 5-star puzzles. All the same warnings and precautions regarding phasing apply here, as previously mentioned. If this technique is required, you will also see it marked with “P+” in the subtypes of puzzles.
Housing Shell and its Effects
Goblet Shell
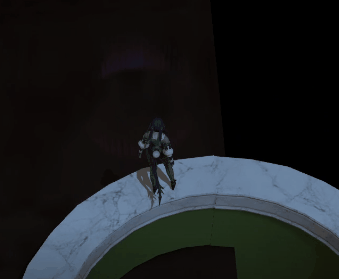
Housing cubes have introduced many unique features to jump puzzles. One distinct aspect of the houses and rooms in the Goblet residential district is that the entire exterior rim of the housing cube is walkable because the outside pillars and walls have collision. However, it’s crucial to review the rules of the specific puzzle you’re attempting, as many puzzles may forbid this.
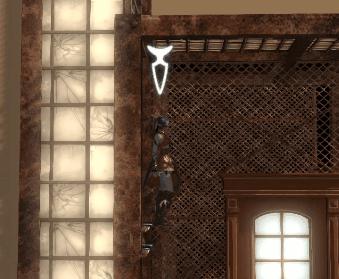
Empyreum Shirogane and Lavender Beds Shells
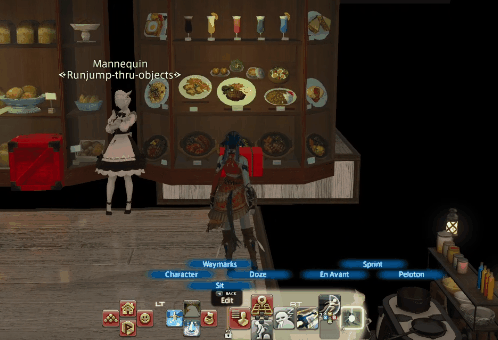
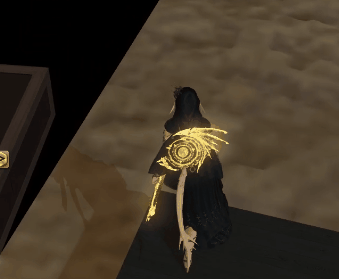
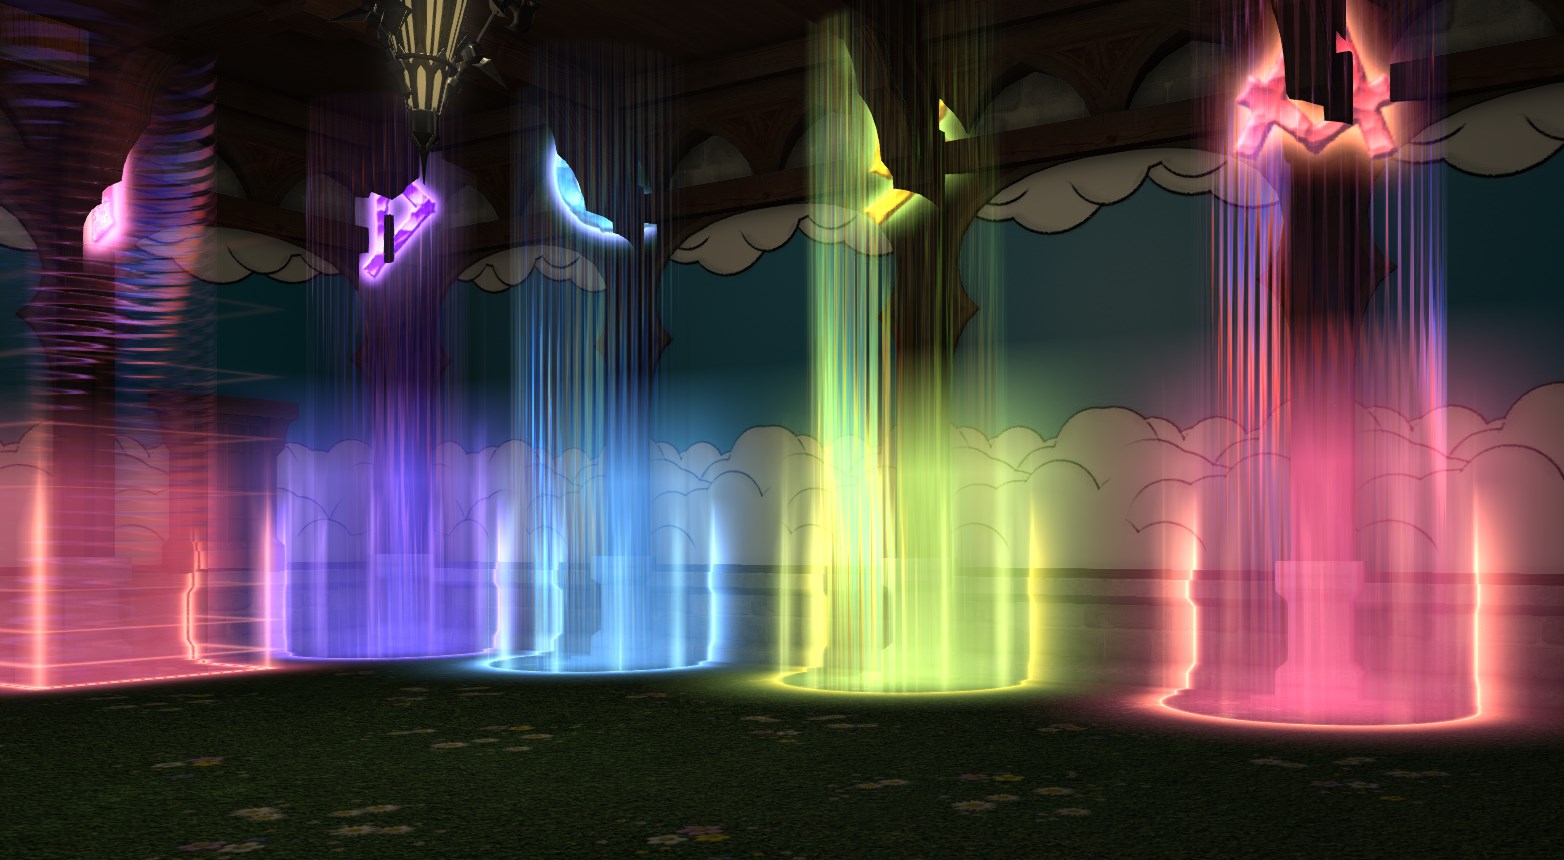
In houses and rooms within the Lavender Beds, Empyreum, and Shirogane residential wards, all of the pillars along the outside walls are walkable surfaces, allowing you to jump from pillar to pillar. To make these jumps easier, you can place waymarks on the pillars, which can serve as guides for your jumps. When viewed from the void, the top of the glow of the waymarks will indicate where you should jump to. This method makes navigating and jumping along the pillars more manageable.
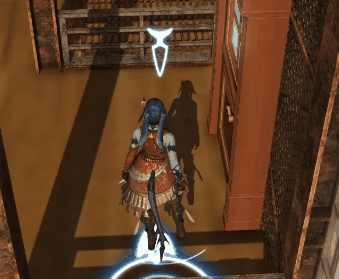
Example: an example of jumping from pillar to pillar
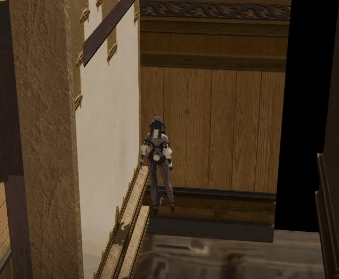
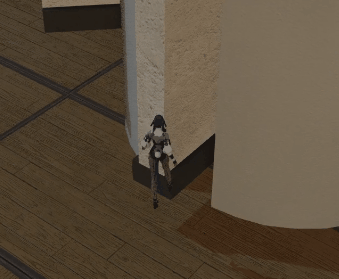
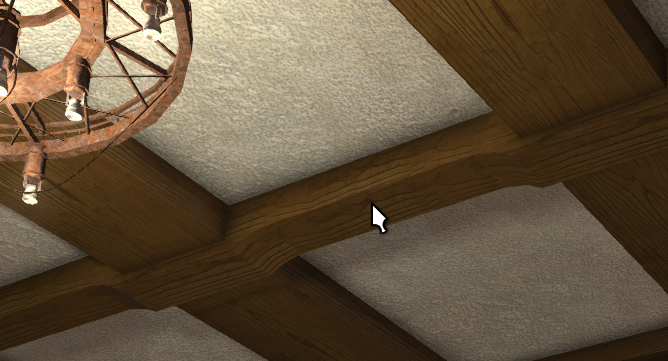
Mist Housing Shell
In the Mist housing area, unlike the other residential wards, houses and rooms lack walkable pillars along the walls. However, the Mist has a unique mechanic involving their ceiling beams. When you’re positioned above any of the ceiling beams in a puzzle and jump into items from below, the ceiling beam will effectively enable any furniture to function as an upwarp, even when it would not be able to do so on its own. Additionally, it’s possible to jump and stick onto one of these ceiling beams, and when you jump from this position, it can teleport your character to a much higher item above you.
Example: one of the ceiling beams in question that can cause this phenomenon to occur and that you can get stuck on
Example: An example of an upwarp through an item that should not allow upwarping
Example: An example of getting stuck in a beam and teleported up when pressing the jump button
Wait Gate / ICam Reset
This tech can break or trivialize some puzzles and should not be used in puzzles where it is not intended.


The Wait Gate is a glitch produced from the Idle Camera and Group Pose. When the game goes in and out of each ICam viewpoint, it has a chance to reset the state of one piece of furniture at random as if it had ghosted. This can be used to reset pumps and slides, and is currently the only known way for a player to force a reset of a slide from inside a puzzle without using ghosting. For most items this process happens to nothing will change. However, when this process happens on emote slides it can cause the item to revert to it’s original settings. If this is applied to emote pumps however, it is highly likely that it will cause the entire pump to break as pumps require the two wooden beams to act together.
This very powerful tech has one big downside. If you are using this tech in a puzzle to try and reset slides, prepare to be waiting a VERY long time. Eventually, given enough time, the game will cycle through and reload all the items in the room you’re in, but it is pure luck on what item will glitch and when. If you’re lucky, resetting one specific furniture, using the fastest method takes around 5 to 30 minutes. However it is not uncommon to spend several hours even using methods to try and speed up the process, especially if you’re trying to reset more than one item.
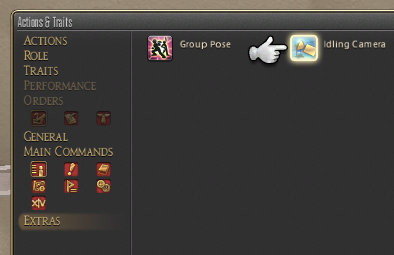
Turning the Idle Camera on/ off
ICam can be manually started by typing /icam into the chatbox or via Character > Actions & Traits > Extras (where it can also be added to a hotbar). You can also change whether icam automatically starts when you go AFK by going to: System Configuration > Other Settings
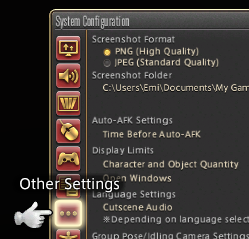
Under Auto-AFK Settings, you will want to change the time it takes to go afk and trigger the camera.
And then finally, under Group Pose/Idling Camera Settings you will want to make sure this box is checked if you want the game to go into the idle cam for you.
The easiest way to get the glitches to show up is to set your idling camera and then walk away from the game for half a day, while it cycles through shots every 10 seconds. However if you’d like to speed the process up, you can cycle through icam viewpoints every 2 seconds by pressing the tab key. On controller you will have to press square to open the Idling Camera Settings and then hit the fast forward button in the Menu on the top right to cycle through the shots.
Some tips:
- If you click the left mouse button / Circle button, the auto-cycle pauses, but this also prevents it from being hijacked by player characters talking or using emotes.
- Do not use /icam
. This glitch depends on the camera roaming around freely in the area. - If you DO NOT want to produce these effects in puzzles(as it can break some puzzles), it is advised to turn off the idling camera in the settings above or to not go afk long enough for icam to trigger in puzzles with emote slides or pumps.
- It is also possible to use GPose to make this happen, but it is even more tedious than ICam so highly not advised.